
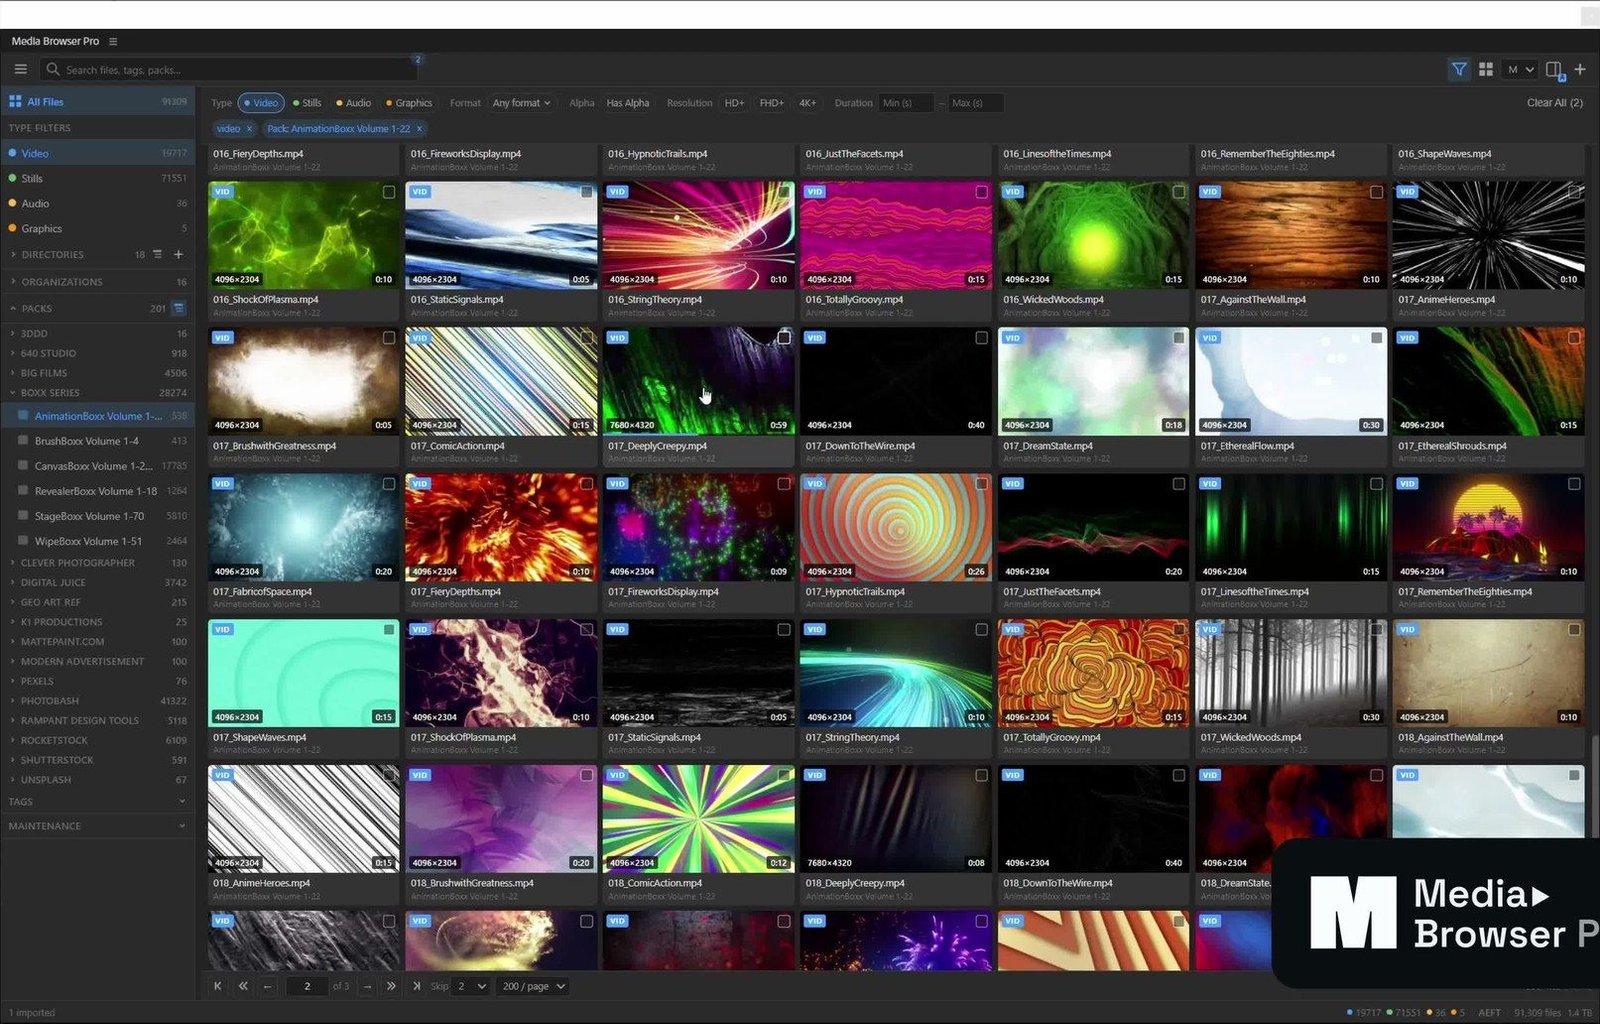

A big library is only useful if you can navigate it, not just search it. This lesson gives yours three levels of structure and a habit for tagging.
Think in three levels
- Organization — who made it (Big Films, Photobash, Digital Juice).
- Directory — the folder you added.
- Pack — the product inside it, from its sub-folders (Abandoned Asylum, Florence City).

1. Give every directory an organization
Right-click a directory → Set Organization…
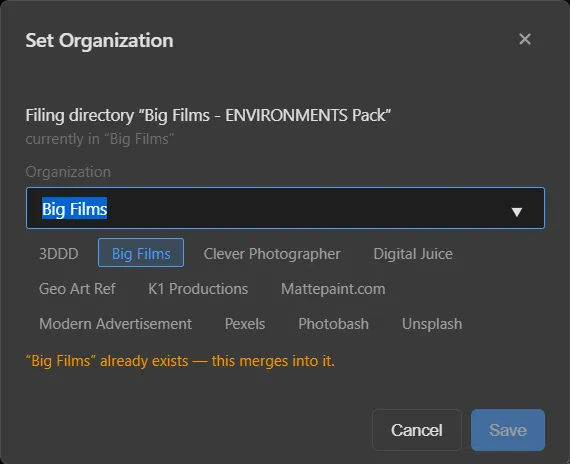
Click an existing organization or type a new name. If the name already exists, the directory merges into it — so Big Films – ENVIRONMENTS and Big Films – Worlds 2 end up under one Big Films.
2. Group related directories
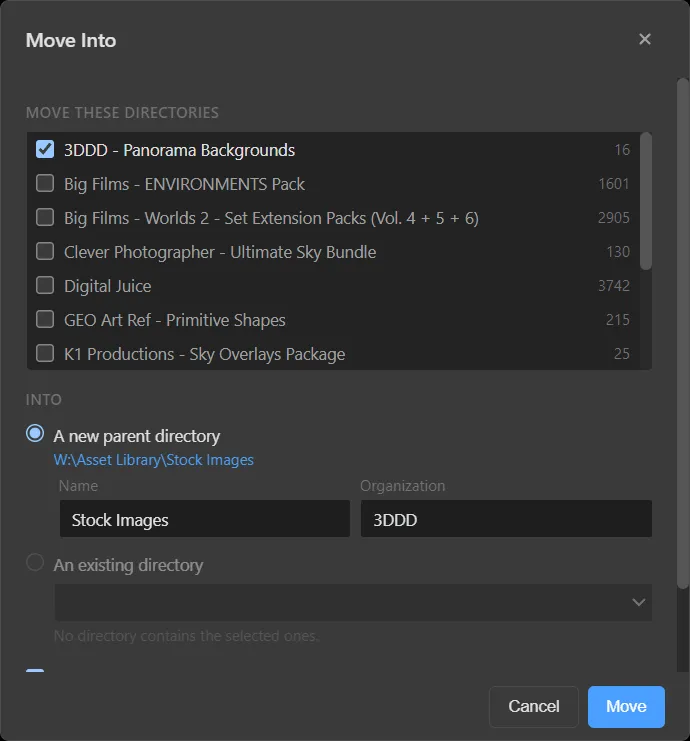
Right-click → Move Into…, tick the directories that belong together, and create a parent (for example Stock Images) or pick an existing one.
3. Browse by vendor and pack
Collapse Directories and open Organizations or Packs in the sidebar. Now “that brush pack from the bundle” is two clicks away, no search terms required.
4. Narrow with the filter bar
Open the filter bar and stack conditions: Video, 4K+, Has Alpha, a duration range. Active filters show as chips you can remove one by one.
5. Tag for how you search
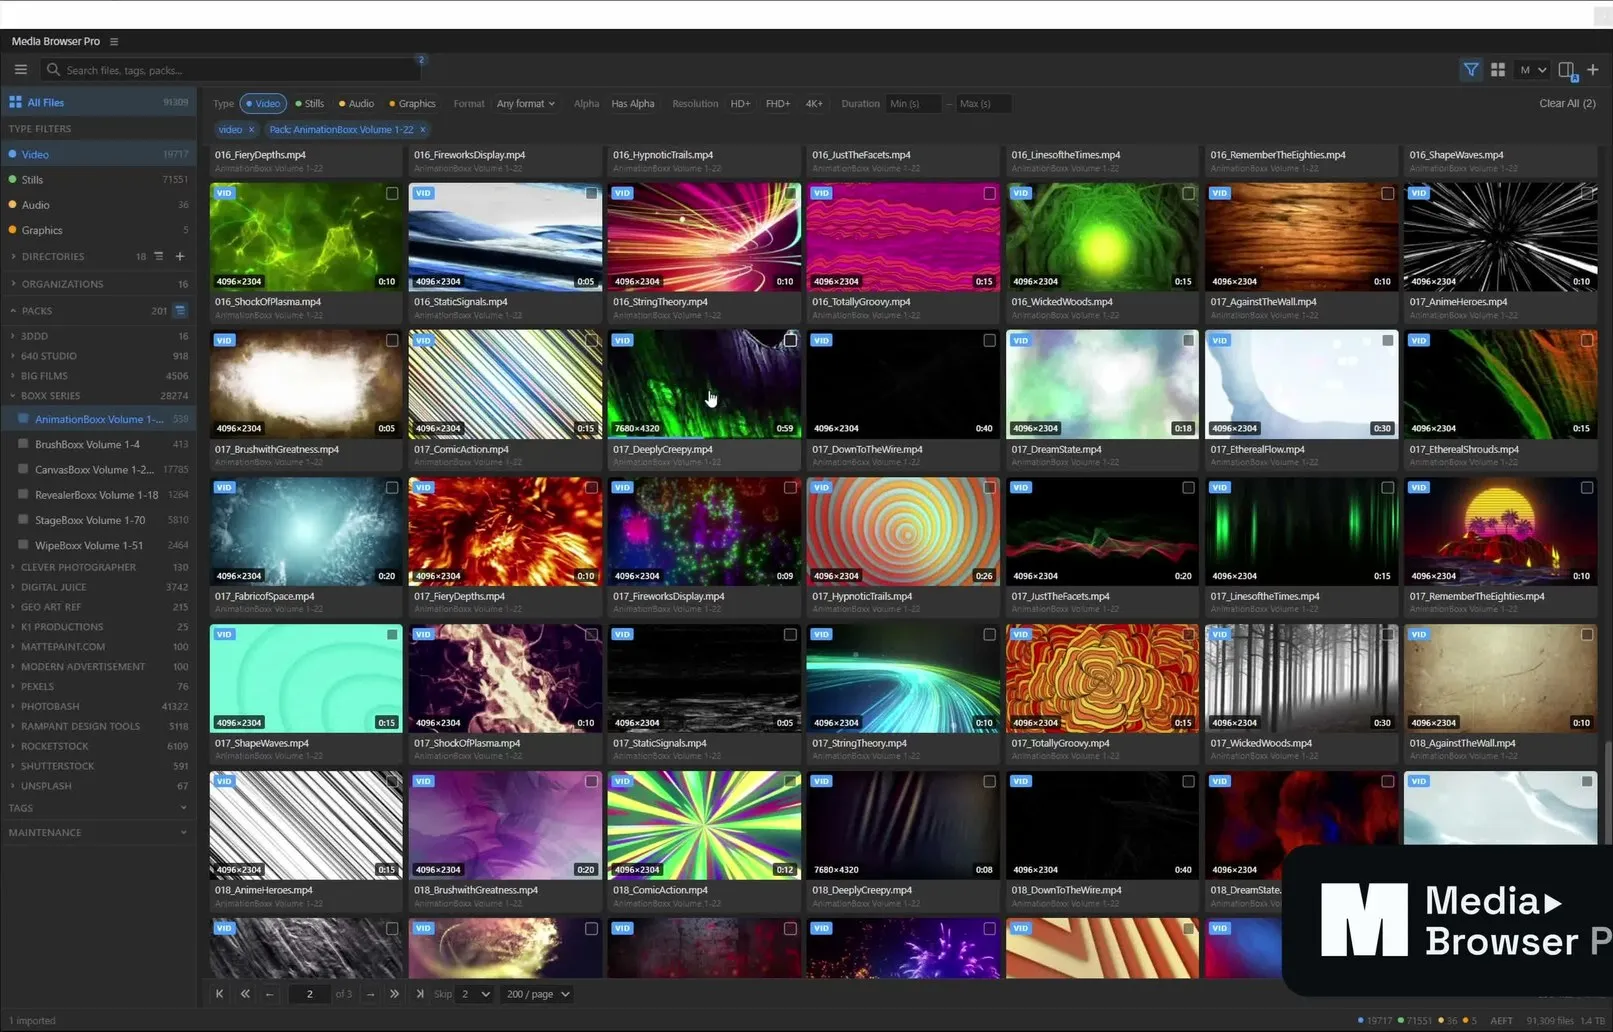
Automatic tags already cover resolution, frame rate, codec, alpha, orientation and length. Add the tags only you know:
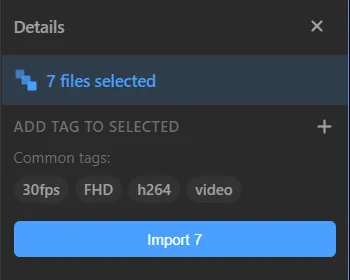
- Select a set of files (tick several cards).
- In the Details panel, type a tag into Add tag to selected and press Add.
Or tag a whole directory at once: right-click → Add Tag.
Tip
Good tags are verbs and jobs, not nouns: transition, title-bg, client-acme, hero-sky. The metadata already knows it’s 4K.